Alerting, Proactive and Precise
Configure proactive alerting for your Rails, Django, Flask, and other applications. Get notified about performance issues before your users notice them.
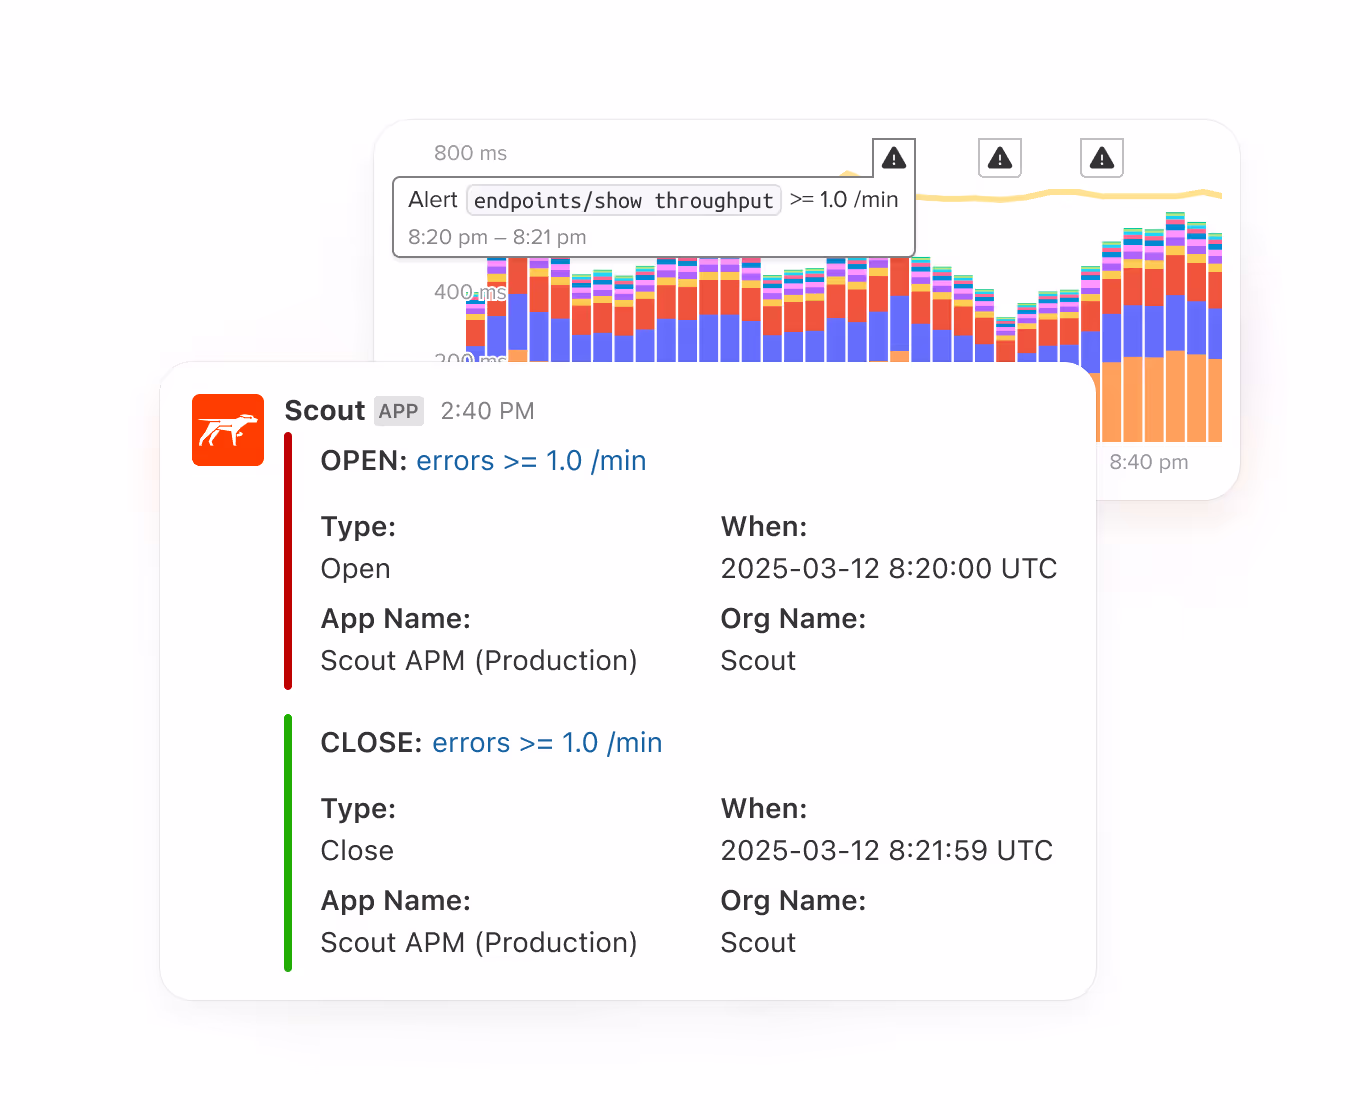
Scout Alerts You, So Your Users Never Do
Intelligent alerts – whenever performance deviates from normal make it easy to analyze mean response time, error rate, throughput, queue time, and many more relevant metrics. Alerts can be configured on an app as a whole and for individual endpoints and background jobs.
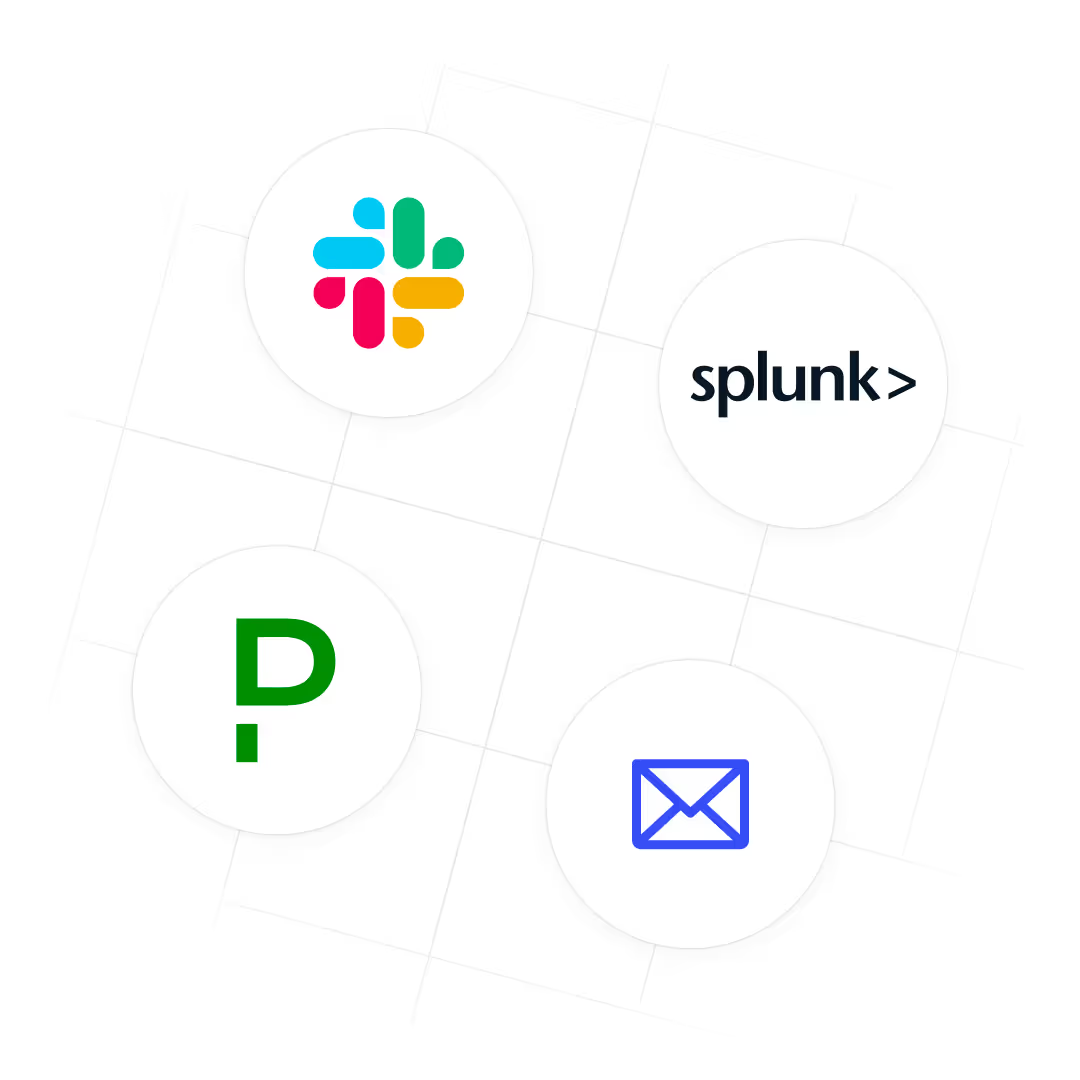
Reach the Right Team Members – at the Right Time
Easy integration with Slack, Email, PagerDuty, Splunk, and other platforms mean no alert goes unchecked. Scout alerting integration is not only easy to configure, it's flexible too, depending on your platform of choice.
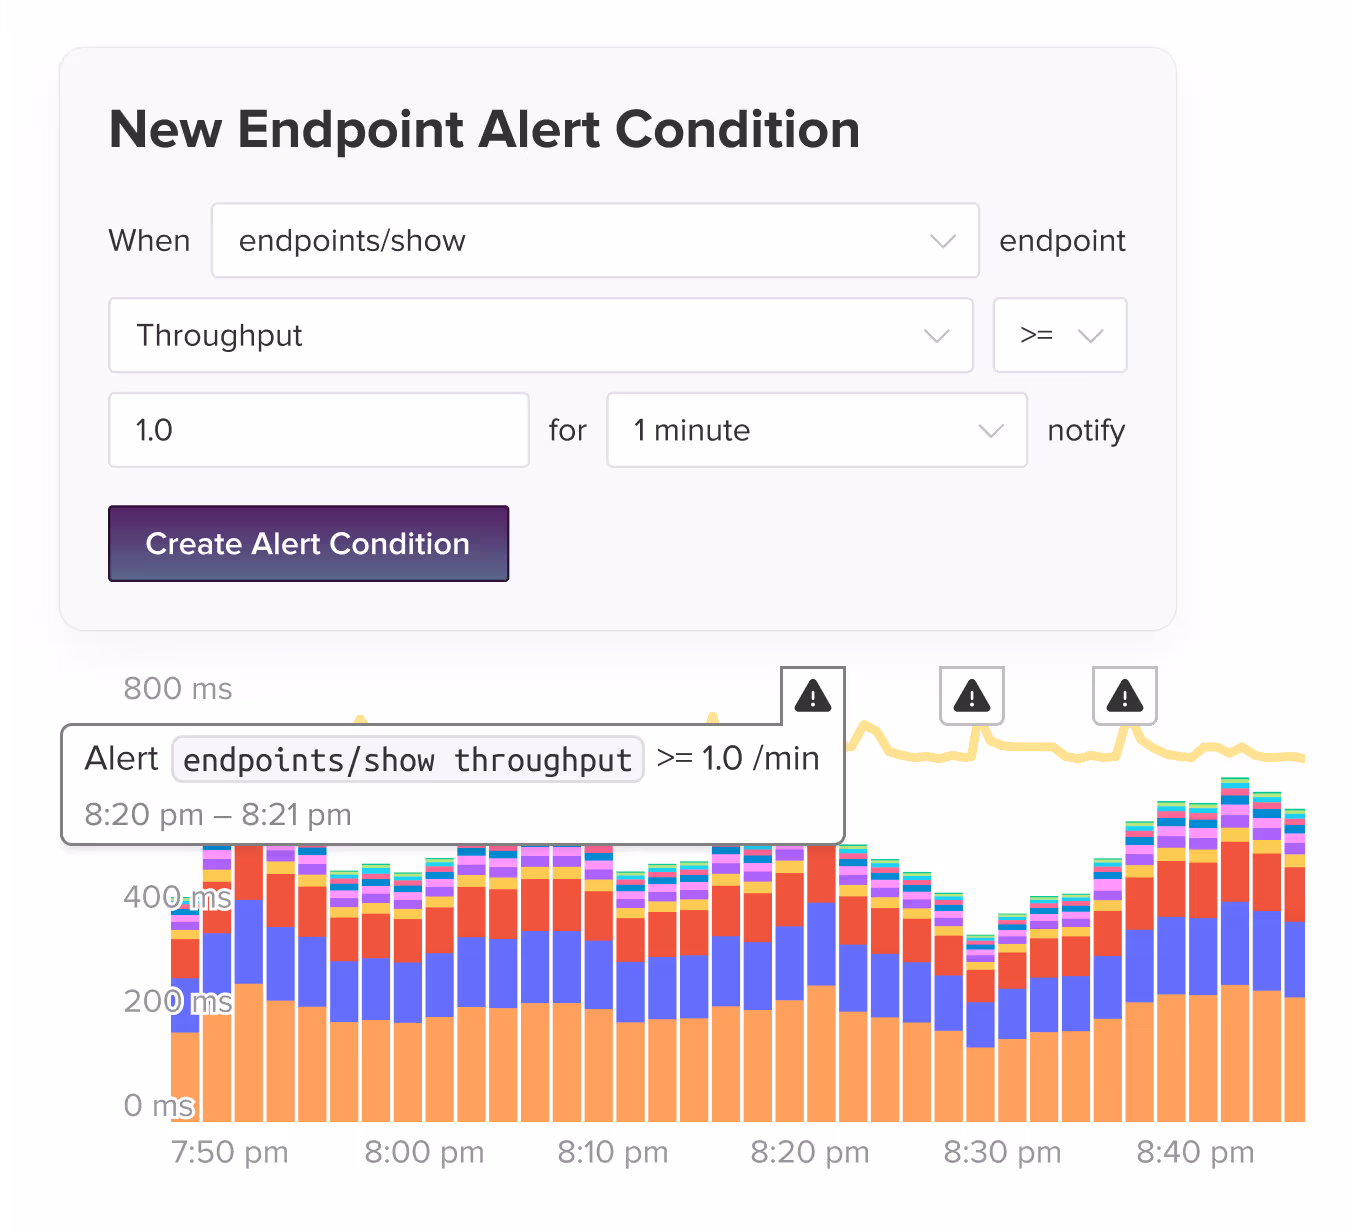
Automatic detection, no thresholds to set
Scout's anomaly detection detects unusual performance behavior automatically. Instead of picking a threshold, Scout learns each endpoint's normal response time patterns and alerts when something changes. Daily and weekly seasonality are accounted for, so Monday morning traffic spikes and nightly batch jobs do not cause false alarms.
Add Scout to Your App
With monitoring that "just works" for Rails, Django and more, get running in minutes with Scout's streamlined setup. No extra code needed - just deploy our agent and start getting insights in 5 minutes.
Get started in under 3 minutes with our easy to install Ruby agent.
Install our gem. In your Gemfile:
gem 'scout_apm'Shell:
bundle installDownload your customized config file, placing it at config/scout_apm.yml.
Deploy.
Get started in under 3 minutes with our easy to install Python agent.
Install the package:
pip install scout-apmConfigure in your settings.py (Django):
# settings.py
INSTALLED_APPS = [
    "scout_apm.django",  # should be listed first
    # ... other apps ...
]

# Scout settings
SCOUT_MONITOR = True
SCOUT_KEY = "[AVAILABLE IN THE SCOUT UI]"
SCOUT_NAME = "A FRIENDLY NAME FOR YOUR APP"
Alternatively, use environment variables: SCOUT_MONITOR, SCOUT_NAME, SCOUT_KEY.
Deploy. Data appears in the Scout UI within approximately 5 minutes.
Get started in under 3 minutes with our easy to install PHP agent.
Install the package:
composer require scoutapp/scout-apm-laravelOptionally install the PHP extension:
sudo pecl install scoutapmConfigure in your .env file and deploy.
Get started in under 3 minutes with our easy to install Elixir agent.
Add to your mix.exs and run mix deps.get:
{:scout_apm, "~> 2.0"}Download your customized config and place it at config/scout_apm.exs.
Add instrumentation to lib/your_app_web.ex:
defmodule YourApp.Web do
  def controller do
    quote do
      use Phoenix.Controller
use ScoutApm.InstrumentationDeploy.